
A little bit of background first- we've been INSANELY stressed this summer. Especially over the last 2 weeks. Why isn't really important; it's just been crazy. So today we had to do something fun.
Ok, so what sparked light sabers?
Well about 4 years ago we started to introduce our son to Star Wars and decided it would be fun to own some light sabers. We initially bought 2 of those telescoping light sabers- but within weeks we found that they were WAY to painful to be hit with, and let's face it you give a kid a sword no matter what you say they are going to end up hitting you with it. Not only that... we moved shortly after buying them and they disappeared. (we lose SOMETHING every time we move) SO we still wanted light sabers but didn't want to pay the amount of a new telescoping light saber, (which seem to retail for around $12 most of the time) plus, like I said, they HURT to get hit with.
So we looked up alternatives and found a short little post where someone suggested pool noodles. So we took that idea and ran with it. We made some pretty awesome little light sabers. They lasted for about 3 and a half years before they began to wear down. (pool noodles can only take so much of a beating).
To repeat- it has been stressful; so we needed to do something fun today. So we built some new light sabers. :D


Materials:*
- Duct Tape (we got the shiny chrome stuff, but regular silver works) $3.39
- Black Electrical Tape: $2.29
- Assorted colored electrical tape: $4.99
- Pool Noodles: $1.99/each

 We got 4 pool noodles- so we spent a total of $18.63 pre-tax. So we spent about $2.50 per light saber if you include tax.
 *we got everything at target, you could probably get it all cheaper at the dollar store or somewhere else. We just were at target for something else and didn't feel like going to multiple stores with the kids.


 First thing we did was cut the noodles in half. I just bent them in half and cut them with a serrated bread knife- (I did this before we got the kids to come help build them; so I don't have any pictures of that.)
 As you can see this made the cuts pretty rough. Not a big deal though.
The next thing we did was make an X with the duct tape on the bottom of the noodle; which fixed the rough cut.

 After that I cut about 4 pieces of tape approximately 8" long each and wrapped from the bottom up. (you'll see I didn't keep it wrinkle free every time, but they are just for fun, so I didn't worry about it to much)
 We then put a strip of the black electrical tape at the 'top' of our handle.
 Then everyone customized them with buttons (cut from the colorful electric tape) and other designs with the black.


 First light saber that we finished. My daughter gave her stamp of approval so it must be good!
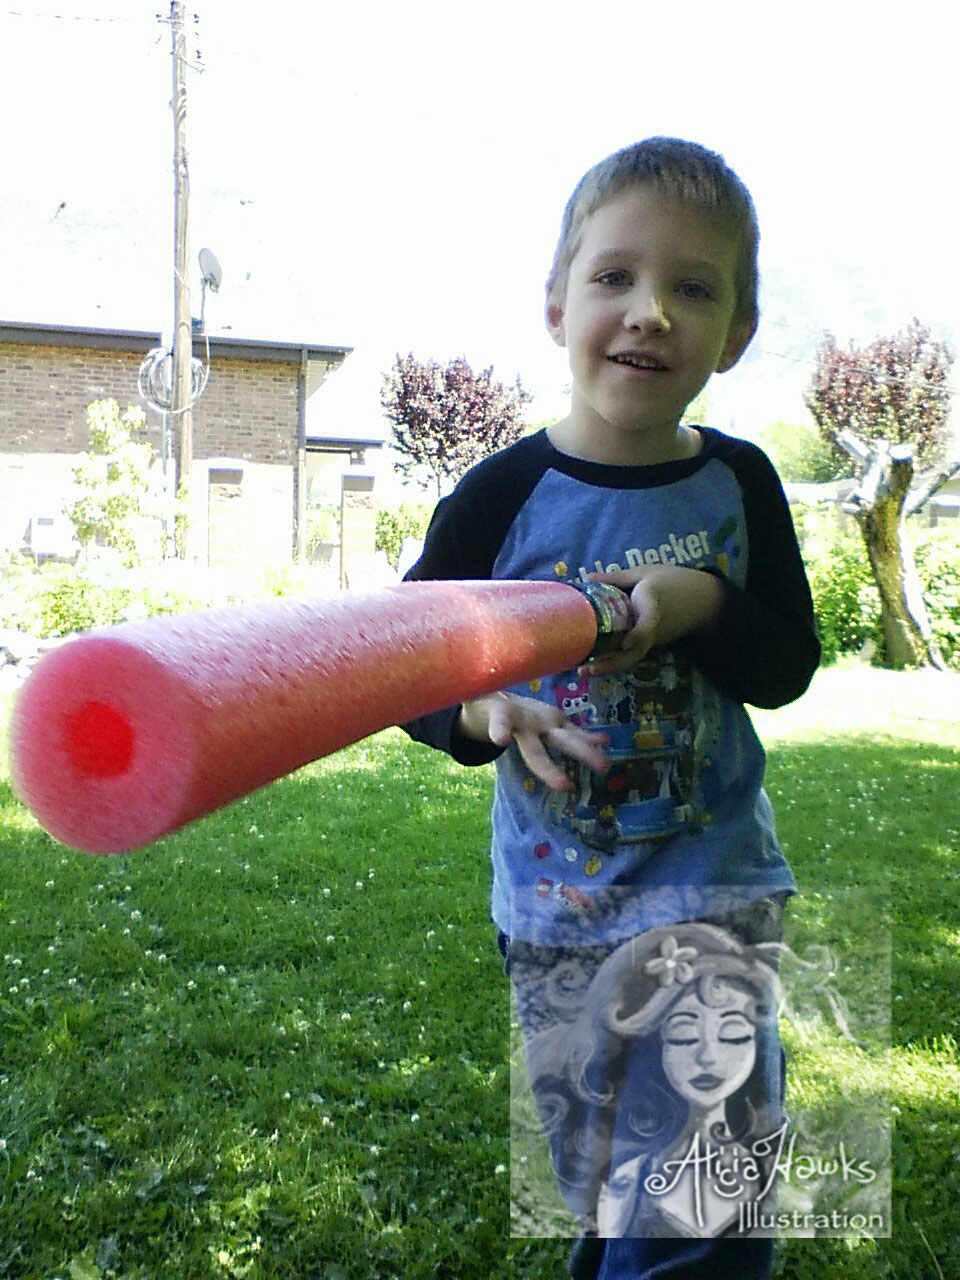


We ended up getting progressively more creative with the designs, So we ended up with 8 pretty cool looking light sabers.
Final step of course was having a battle in the backyard!!


Sorry about the watermark and the bad photos. My phone camera is dieing and that is all I had on me, so I did my best. The watermark is there because I'm posting pictures of my kids and somehow I'm 100x's more paranoid about their use than I am about my sketches and artwork. Go figure.
 We had a lot of leftover tape when we finished, you could probably buy twice as many pool noodles as we did and make a ton of swords for fairly cheap.
I promise to have a more art related post soon, but for now this is what you get!!
~Alicia


